introduction to ball joint removal tool
If you’ve ever found yourself battling a rusted, seized-up ball joint, you know exactly how frustrating suspension repairs can be. The struggle is real, especially when you’re trying to avoid damaging other parts of your vehicle or ending up with a trip to the mechanic. Luckily, there’s a secret weapon for the job: the ball joint removal tool. Trust me, this little piece of equipment will save you more time and headaches than you can imagine.
Whether you’re a seasoned DIY mechanic or a novice getting into car repairs, having the right tool makes all the difference. In this guide, I’m going to walk you through everything you need to know about ball joint removal tools, from the different types available to tips on using them like a pro. So, grab a coffee, sit back, and let’s dive into the world of suspension repair. By the end of this, you’ll be a ball joint removal expert.
What Exactly Is a Ball Joint Removal Tool?
Let’s start by answering the most basic question: what exactly is a ball joint removal tool?
Simply put, it’s a specialized tool that helps you safely remove ball joints from your car’s suspension system. Ball joints are absolutely essential for the smooth movement of your vehicle’s wheels—they’re what allow the suspension to move up and down as you drive, while keeping your wheels aligned. Over time, though, these ball joints wear out, get corroded, or simply stop working.
When that happens, it’s time to replace them. But here’s the kicker: removing them isn’t exactly a walk in the park. Without the right tool, it can quickly turn into a frustrating battle of wrenches, crowbars, and potentially some seriously sore knuckles. That’s where the ball joint removal tool comes in. It applies the right amount of pressure to safely remove the joint without causing damage to other parts of your suspension system.
Why You Need a Ball Joint Removal Tool (And Why You Can’t Do Without It)
I get it—tools can be expensive, and the last thing you want to do is spend money on something that might not seem essential. But trust me, when it comes to suspension work, you can’t afford to skip this step. Without the proper tool, you’re risking damaging not just the ball joint but also other components like the control arm or steering knuckle. And if you’ve ever tried hammering out a ball joint without the right tool (I have, many times), you’ll know it’s a nightmare.
Using a ball joint removal tool ensures that the process is safe, efficient, and stress-free. No more bending control arms, no more busted knuckles. Instead, you’ll have a smooth, controlled method for removing and replacing your ball joints—meaning you can do the job right the first time. Not only will you save yourself time and frustration, but you’ll also avoid the possibility of costly mistakes.
Types of Ball Joint Removal Tools: Which One Is Right for You?
Okay, so now that you’re convinced you need one, let’s talk about the different types of ball joint removal tools and which one you should choose. There are a few options, each with its own benefits and drawbacks. Let’s break them down:
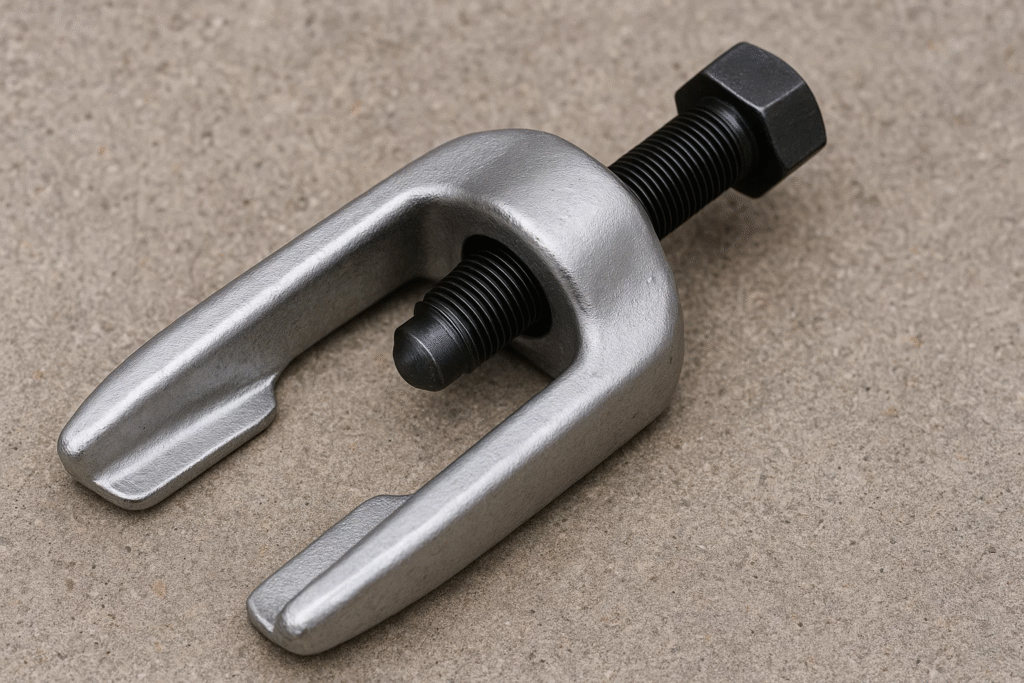
1. Ball Joint Press Kit: The Professional’s Choice
If you want the absolute best, a ball joint press kit is the way to go. This tool uses a hydraulic press to evenly apply pressure to the ball joint, pushing it out without damaging anything else in the process. Press kits come with multiple adapters, meaning you can use them on different makes and models of cars. The major benefit here is that it’s precise, controlled, and highly effective.
A good press kit isn’t cheap, but it’s a long-term investment if you’re going to be doing suspension work regularly. Not only is it great for ball joints, but you can also use it for other suspension components like bushings and U-joints. It’s definitely the most reliable tool for the job, and the one I would recommend if you want to make your life easier in the garage.
Pro Tip: If you’re working on a larger vehicle (like a truck or SUV), be sure to grab a press kit that can handle higher pressures. Bigger vehicles often require more force to remove stubborn ball joints.
2. Fork Style Tool: The Quick and Dirty Option
Now, if you’re on a budget or just need a tool that gets the job done quickly, the fork-style ball joint separator can be a good choice. This tool looks a lot like a crowbar, and it works by applying force to the ball joint, essentially prying it free from its housing. You’ll typically use a hammer or an impact wrench to do the heavy lifting.
While this tool is effective, it’s not as precise as the press kit. In fact, you need to be a bit careful with it, as it can easily damage other parts of the suspension if you’re not careful. It’s great for quick jobs, but not ideal for delicate suspension systems or if you want to preserve every component in its original condition.
Pro Tip: Use a rubber mallet instead of a metal hammer to reduce the chance of damaging your suspension. Also, don’t be too aggressive—sometimes a few taps are all you need.
3. Pitman Arm Puller: The Backup Option
If you find yourself in a bind without a ball joint press or fork tool, a pitman arm puller can be a makeshift option. Though it’s typically used for steering components, this tool can work for ball joints in a pinch. It’s a bit more specialized and not ideal for routine use, but if you’re in a rush, it might be all you have.
Pro Tip: I wouldn’t recommend relying on a pitman arm puller too often for ball joints. It’s more of a “make it work” solution than a proper tool for the job.
How to Use a Ball Joint Removal Tool: A Step-By-Step Guide
So you’ve got your ball joint removal tool—now what? Don’t worry, I’ve got you covered with this easy-to-follow guide on how to use your tool effectively.
Step 1: Lift the Vehicle and Secure It
Before anything else, safety is top priority. Lift your vehicle with a jack, and make sure it’s securely supported with jack stands. Never rely solely on the jack—things can go wrong quickly, and we want to avoid that.
Step 2: Remove the Wheel and Expose the Suspension
Next, take off the wheel to gain access to the suspension components. You’ll likely need to remove a few bolts to expose the ball joint. Take your time here, and make sure you’re not missing anything.
Step 3: Set Up the Tool
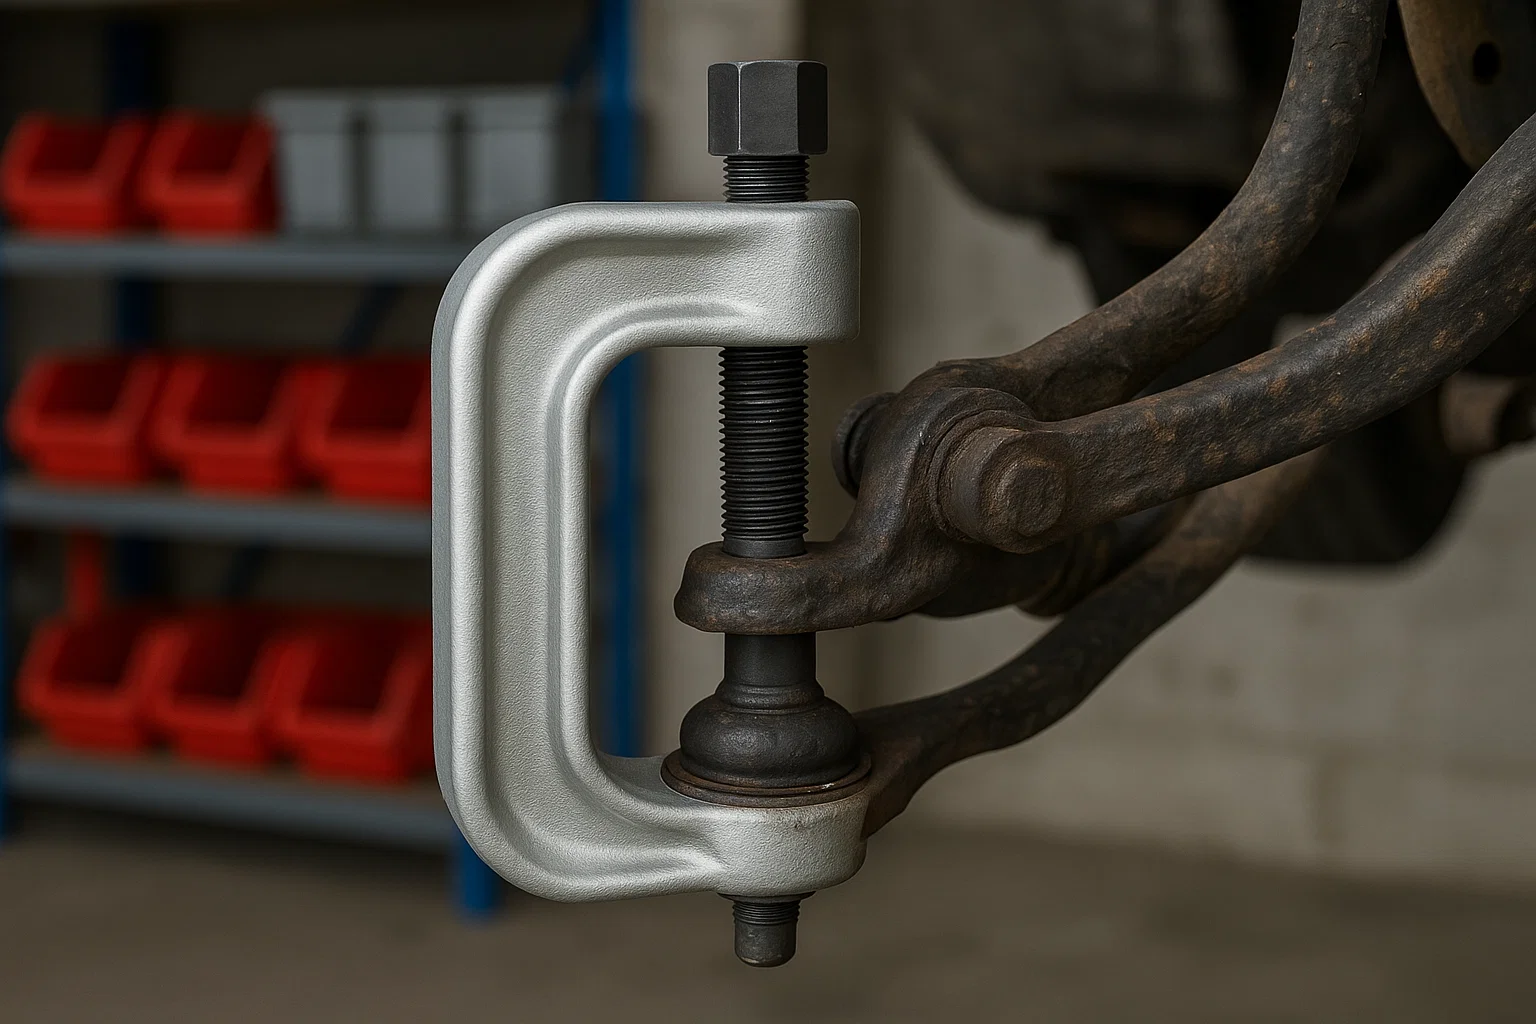
Place the ball joint press kit (or fork-style separator) around the ball joint. If you’re using the press kit, make sure everything is aligned properly, and choose the correct adapter to fit your vehicle. With the fork-style tool, position the fork around the joint before applying pressure.
Step 4: Apply Pressure
For the press kit, slowly tighten the press, applying even, steady pressure. You’ll see the ball joint start to move out. If you’re using a fork, apply firm, but controlled, hits with a hammer until the joint pops free.
Step 5: Remove the Ball Joint and Install the New One
Once the old ball joint is out, inspect the surrounding area for any damage. Now, you can press the new ball joint into place. Reverse the process: position the new joint, tighten the press, and make sure it’s seated properly.
Step 6: Reassemble and Lower the Vehicle
Finally, reattach the wheel, lower the vehicle, and check everything one more time. Take a test drive and make sure everything feels solid. You’ve just successfully replaced your ball joints—high five!
Final Thoughts: The Ball Joint Removal Tool Is a Game-Changer
Look, I get it: tools aren’t always cheap, and sometimes the idea of adding another gadget to your toolbox can feel overwhelming. But trust me—investing in a ball joint removal tool will pay off in the long run. You’ll be able to remove and replace ball joints with precision, safety, and efficiency, making suspension work easier and more enjoyable.
So, whether you go for the heavy-duty press kit or the budget-friendly fork tool, don’t skip out on this essential piece of equipment. Your car—and your knuckles—will thank you.
Happy wrenching, my friend—here’s to many more successful DIY repairs!
Also read: Ball Joint Removal Tool


2 Comments